
DIY Window Tinting: Tips and Common Mistakes to Avoid


Understanding Window Tinting
Window tinting is a popular DIY project that can enhance the appearance of your home or car, provide privacy, and reduce heat and glare. However, achieving a professional finish requires attention to detail and a careful approach. Whether you're tinting your car windows or residential windows, understanding the basics is crucial for success.

Choosing the Right Tint
Before you start, it's important to choose the right type of tint for your needs. Window tints come in various shades and materials, such as dyed, metallic, or ceramic. Consider factors like your local climate, desired privacy level, and legal regulations when making your choice. Remember, darker isn't always better; the goal is to find the balance that suits your specific needs.
Legal Considerations
Different regions have specific laws regarding window tint darkness and reflectivity. Research your local regulations to avoid fines or having to remove the tint later. This step is crucial in ensuring your DIY project complies with legal standards.
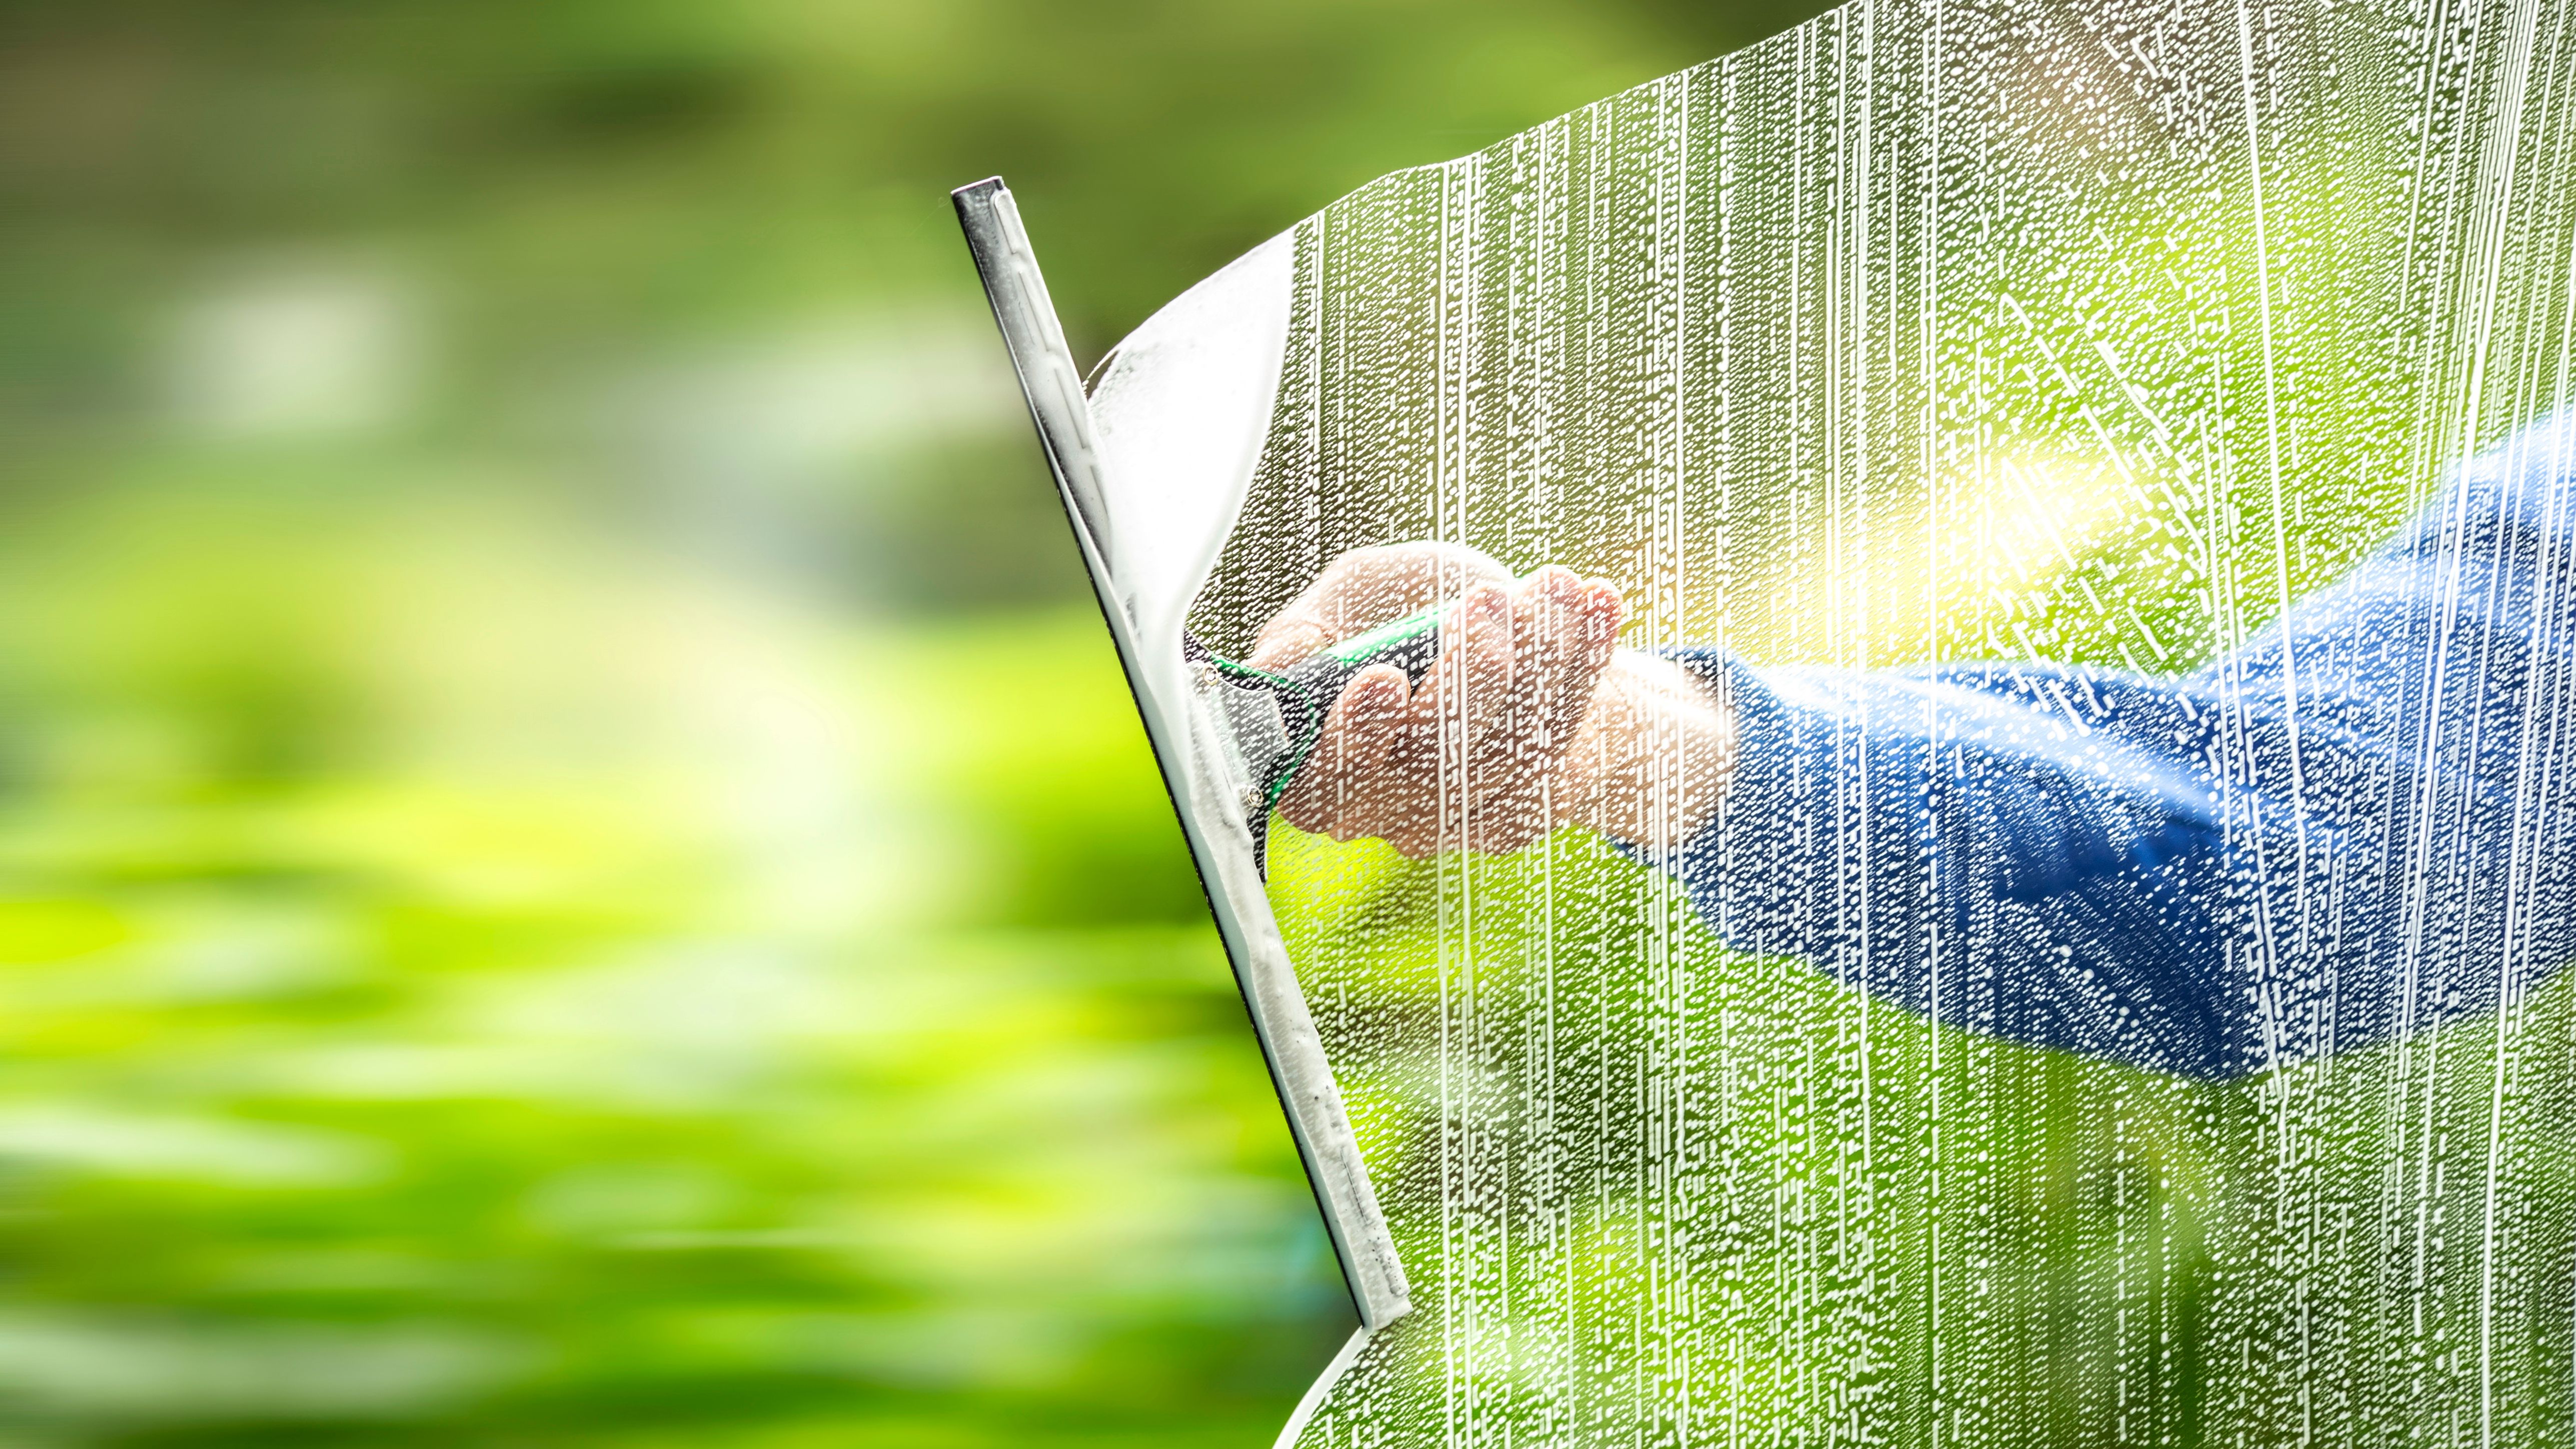
Preparation is Key
Preparation is a critical step in the DIY window tinting process. Begin by cleaning your windows thoroughly. Any dirt or debris can cause bubbles and imperfections in the tint. Use a high-quality glass cleaner and a lint-free cloth to ensure a spotless surface.
Gathering Your Tools
Having the right tools on hand will make the process smoother and more efficient. Essential tools include a squeegee, utility knife, heat gun, and application solution. Make sure all tools are within reach before you commence the tinting process.
Applying the Tint
When applying the tint, patience and precision are your best friends. Carefully measure and cut the tint film to fit each window, allowing for slight adjustments during application. Start from one side and work your way across, using a squeegee to eliminate air bubbles as you go.
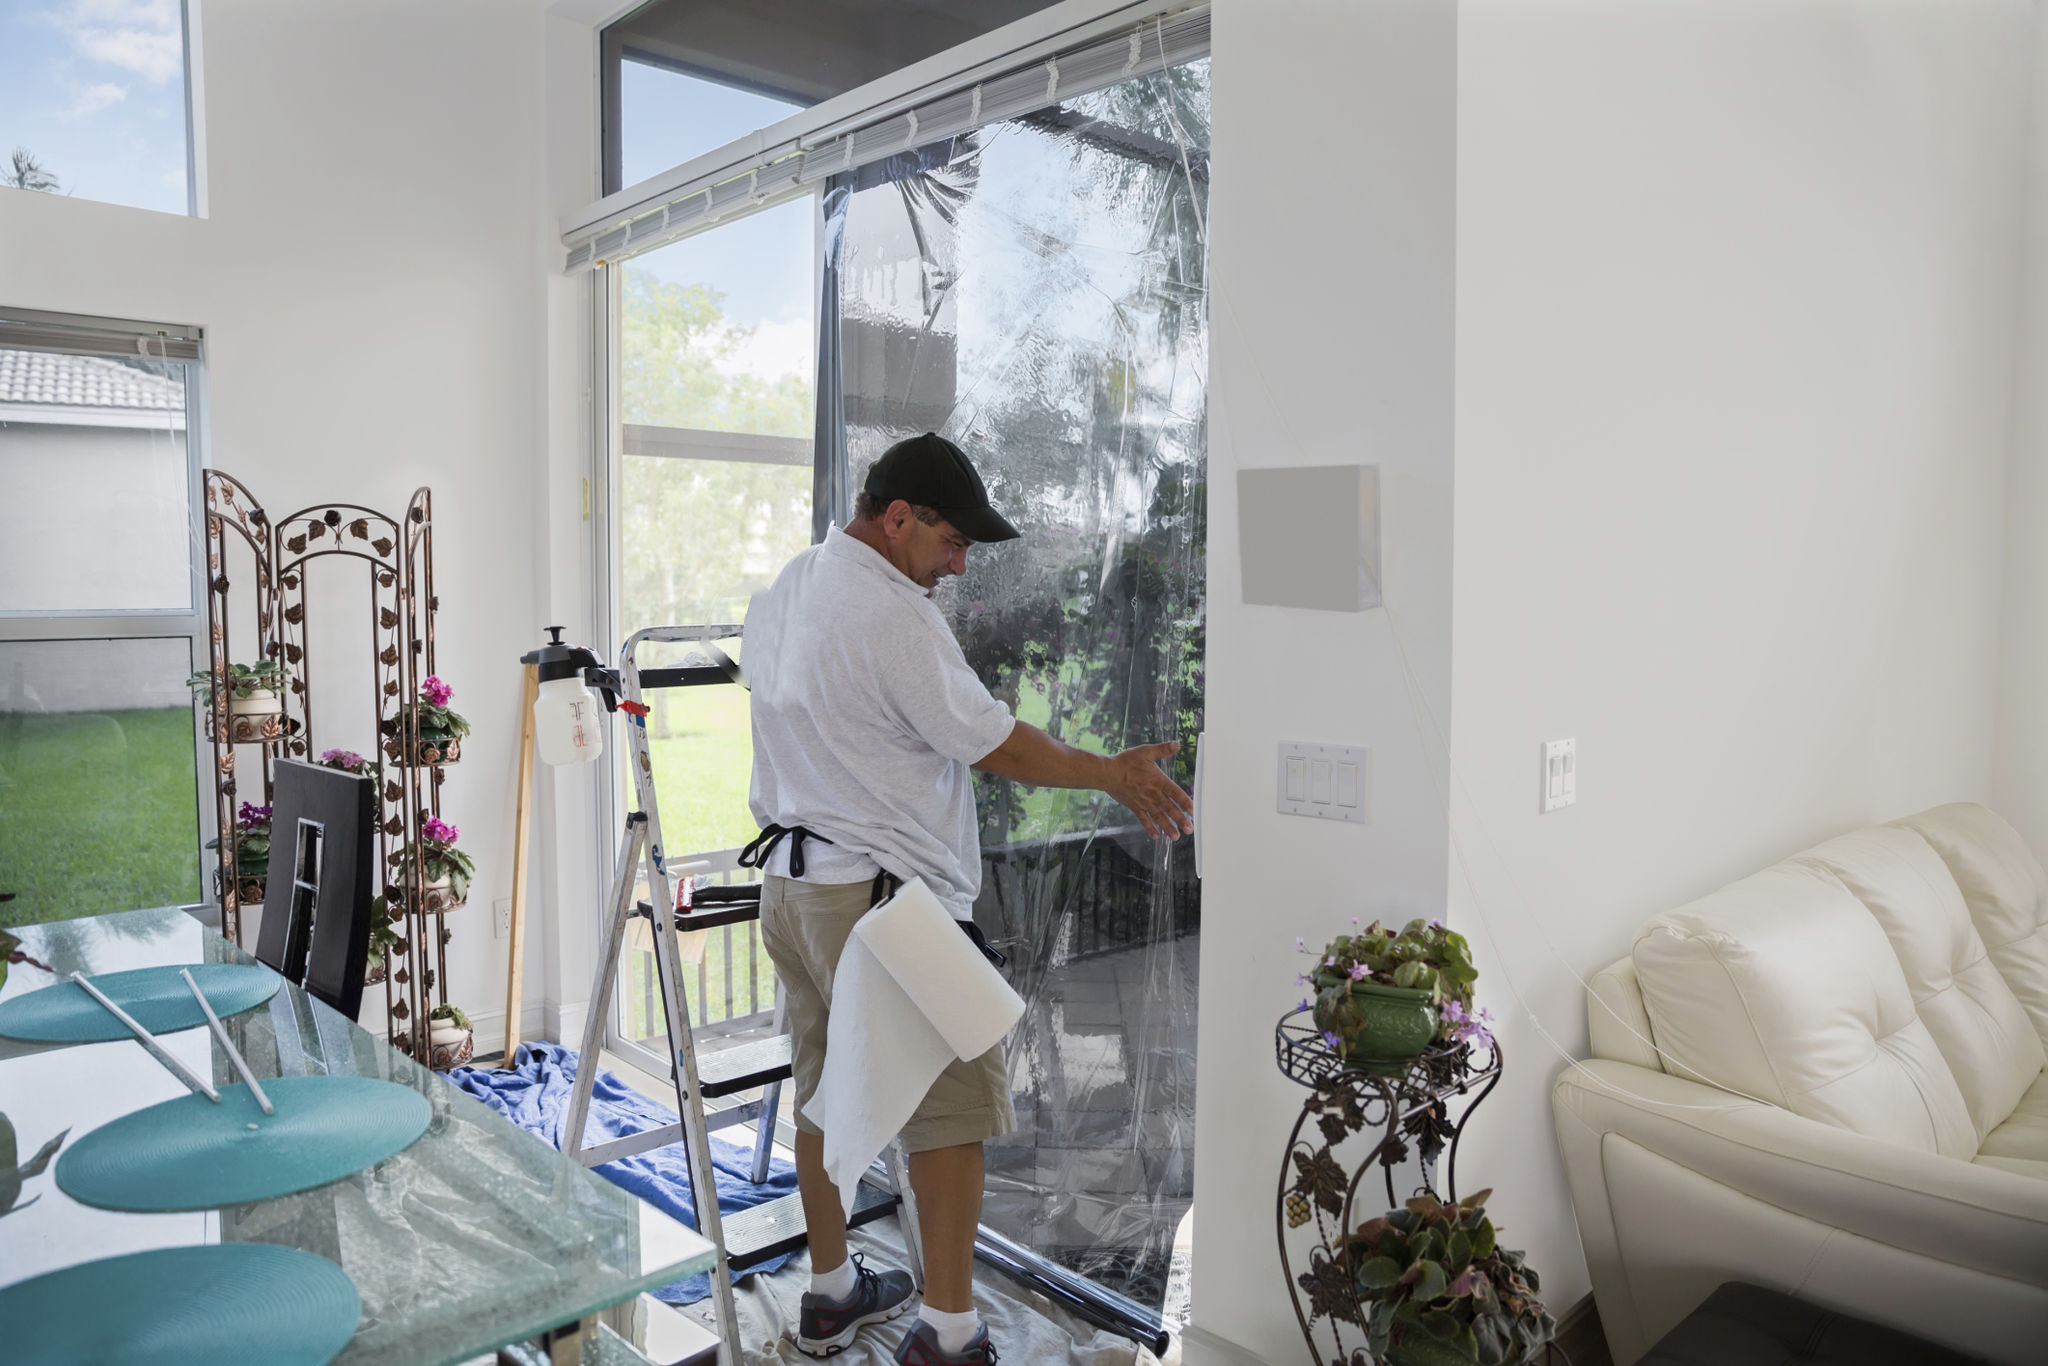
Using a Heat Gun
A heat gun can help shrink the film to fit curved surfaces better. Apply moderate heat and gently smooth out any wrinkles or bubbles with your squeegee. Be cautious not to overheat the film, as this can cause damage.
Common Mistakes to Avoid
Even with careful preparation, mistakes can happen. One common error is applying the tint in a dusty or windy environment, which can lead to trapped particles and bubbles under the film. Always work in a clean, controlled setting to avoid these issues.
Avoid Overstretching
Overstretching the film during application can lead to tears or wrinkles. Take your time and handle the material gently to prevent damage. If you do encounter issues like air bubbles, use a small pin to release trapped air and smooth out the area with a squeegee.
Finishing Touches
Once your tint is applied, allow it to cure properly before rolling down windows or cleaning them again. Curing times can vary depending on climate conditions but generally range from a few days to a week. During this period, resist the temptation to tamper with the newly tinted windows.

By following these tips and avoiding common pitfalls, you can achieve a professional-looking finish with your DIY window tinting project. Remember that patience and precision are key elements in ensuring a successful outcome.