
DIY Window Tinting: What You Need to Know Before Starting


Understanding DIY Window Tinting
Window tinting can be a great way to enhance privacy, reduce glare, and improve energy efficiency in your home or vehicle. While professional installation is an option, many people opt for a DIY approach to save on costs. Before you start, it's important to understand the basics of window tinting to ensure a successful project.
Choosing the Right Tint Film
The first step in your DIY window tinting journey is selecting the right film. Tints come in various shades and materials, such as dyed, metalized, and ceramic. Consider the level of darkness and reflection you desire, as well as any local regulations regarding tinting. It's essential to choose a film that meets your needs and complies with legal standards.
For vehicles, check your state’s laws regarding the level of tint allowed on different windows. For home windows, consider the orientation and how much sunlight each window receives to select the appropriate tint.
Gathering Tools and Materials
Before you begin, gather all necessary tools and materials. You'll need a window tint kit, which typically includes the tint film, a squeegee, a utility knife, and a spray bottle with a solution. Make sure to have a clean, dust-free workspace to prevent particles from getting trapped under the film.
Having a hairdryer or heat gun can also be beneficial for smoothing out bubbles and creases. Prepare a clean cloth and a glass cleaner to ensure the windows are spotless before application.
Preparing the Surface
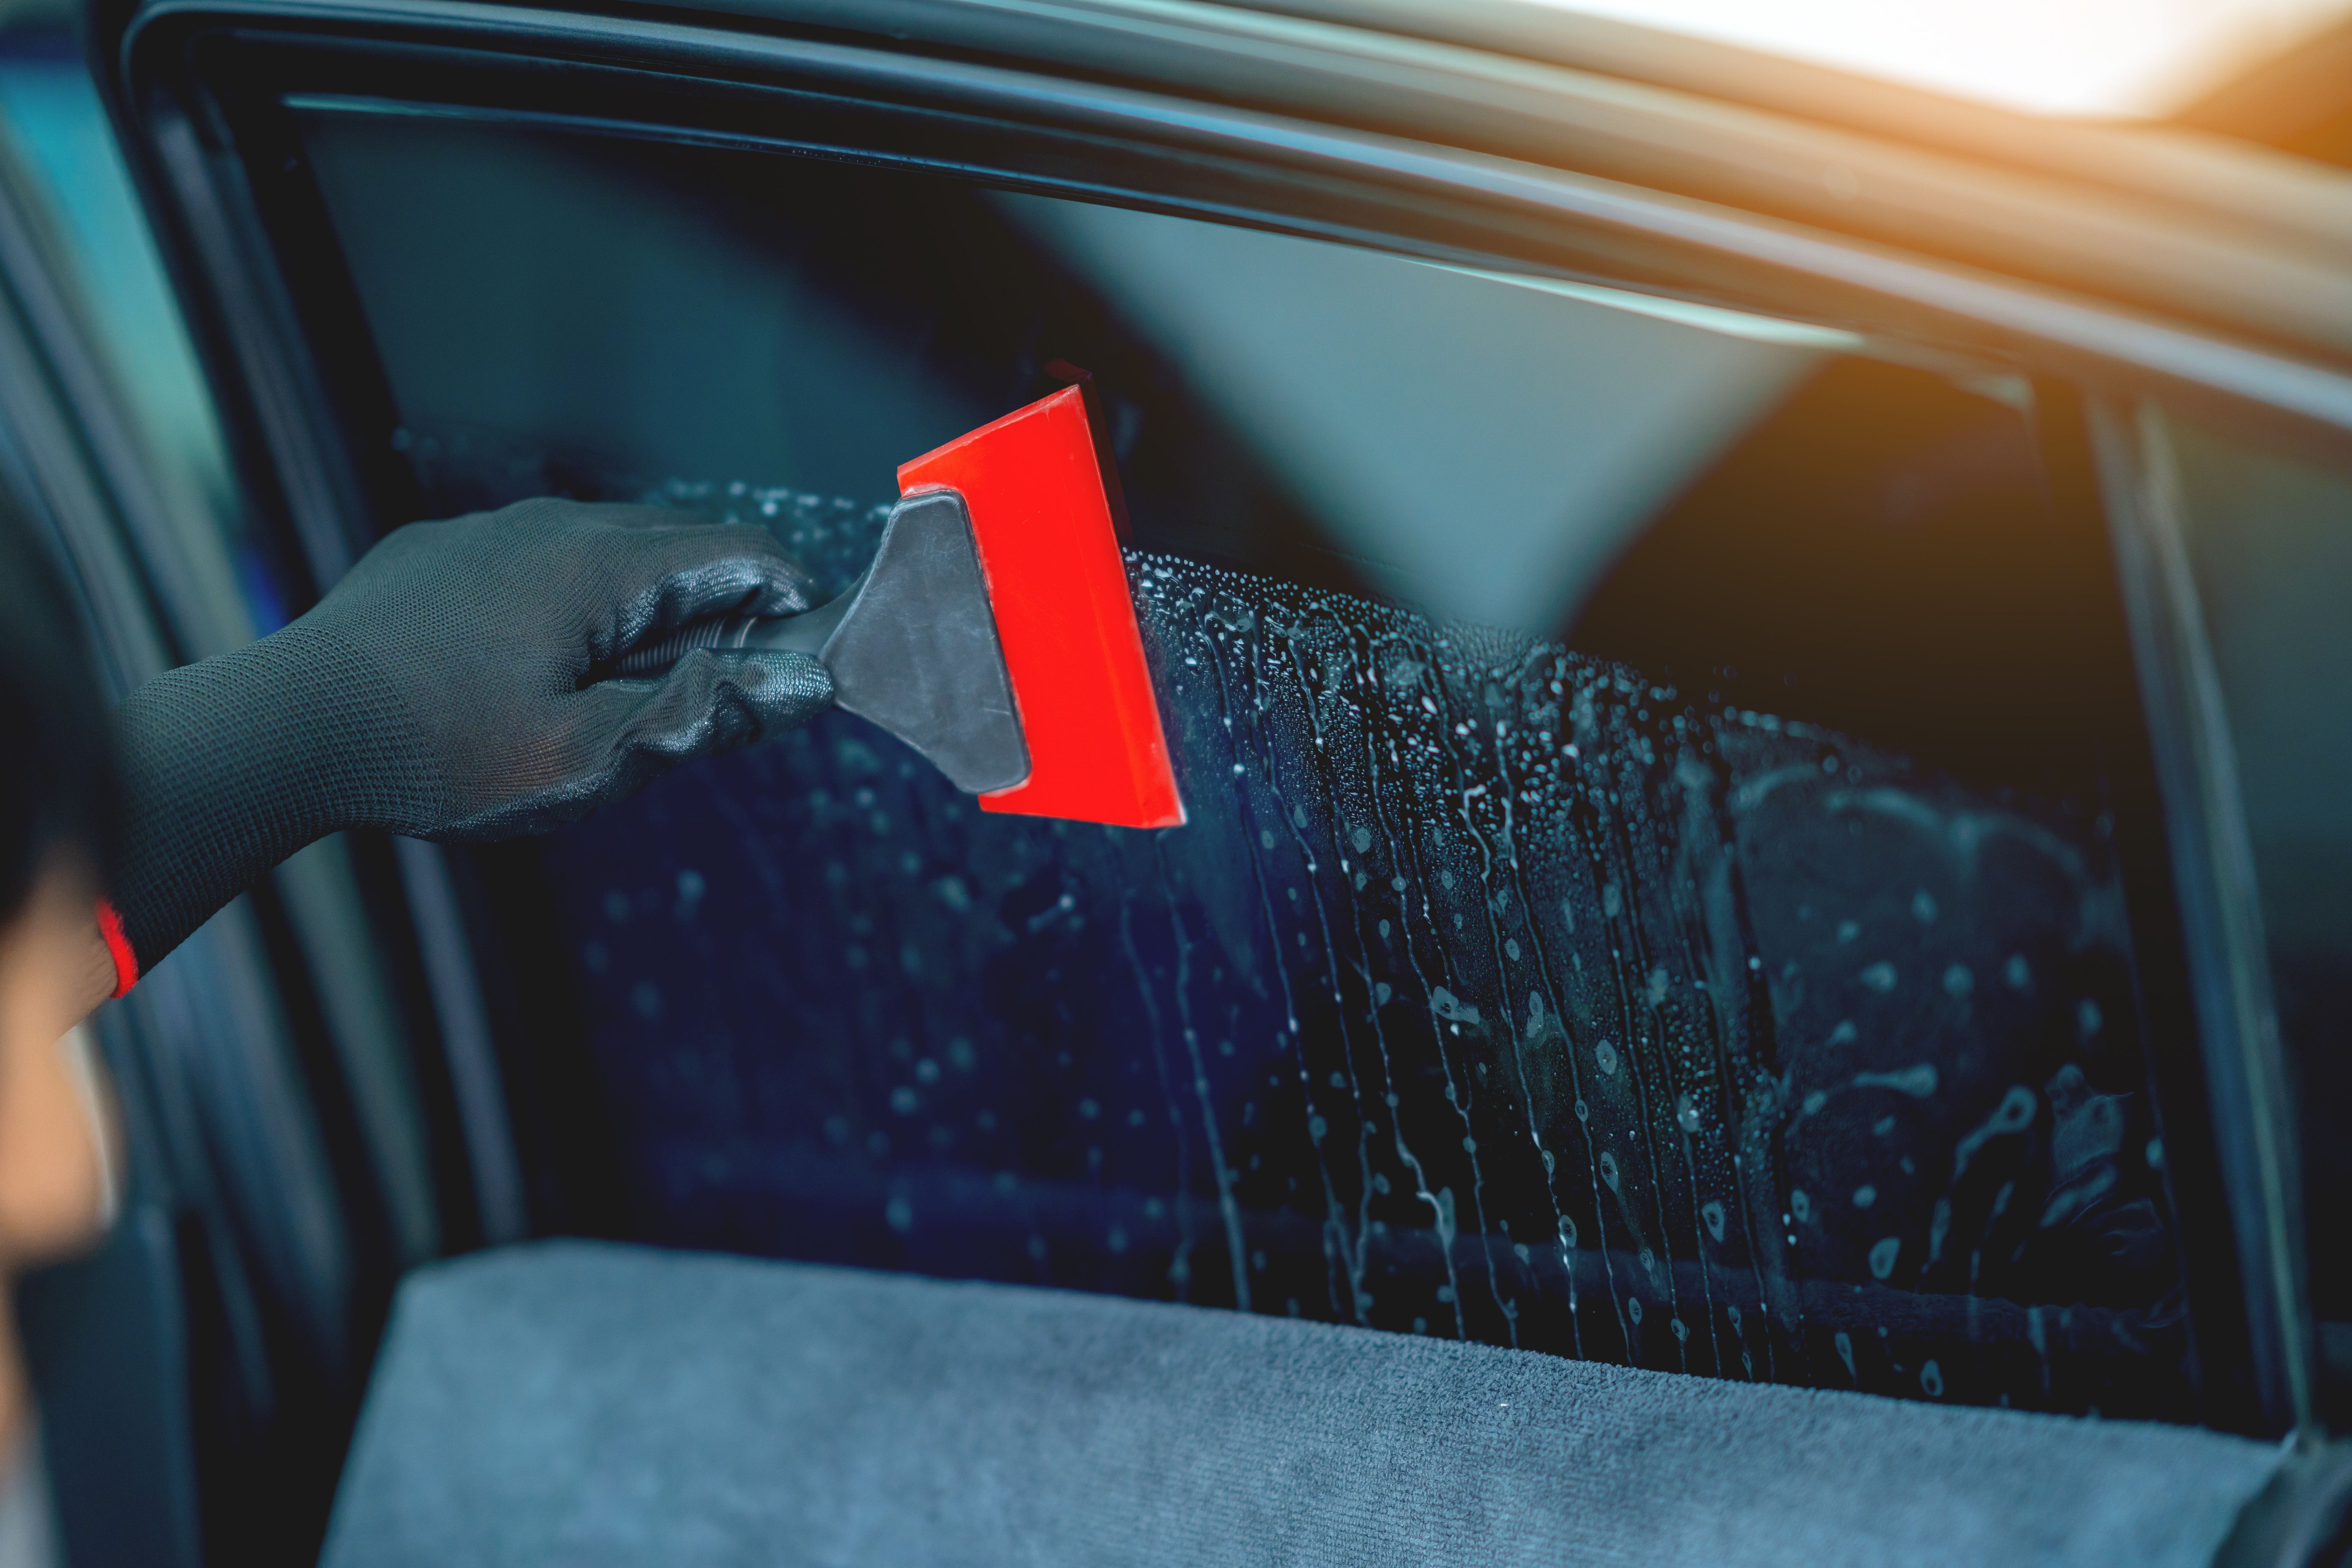
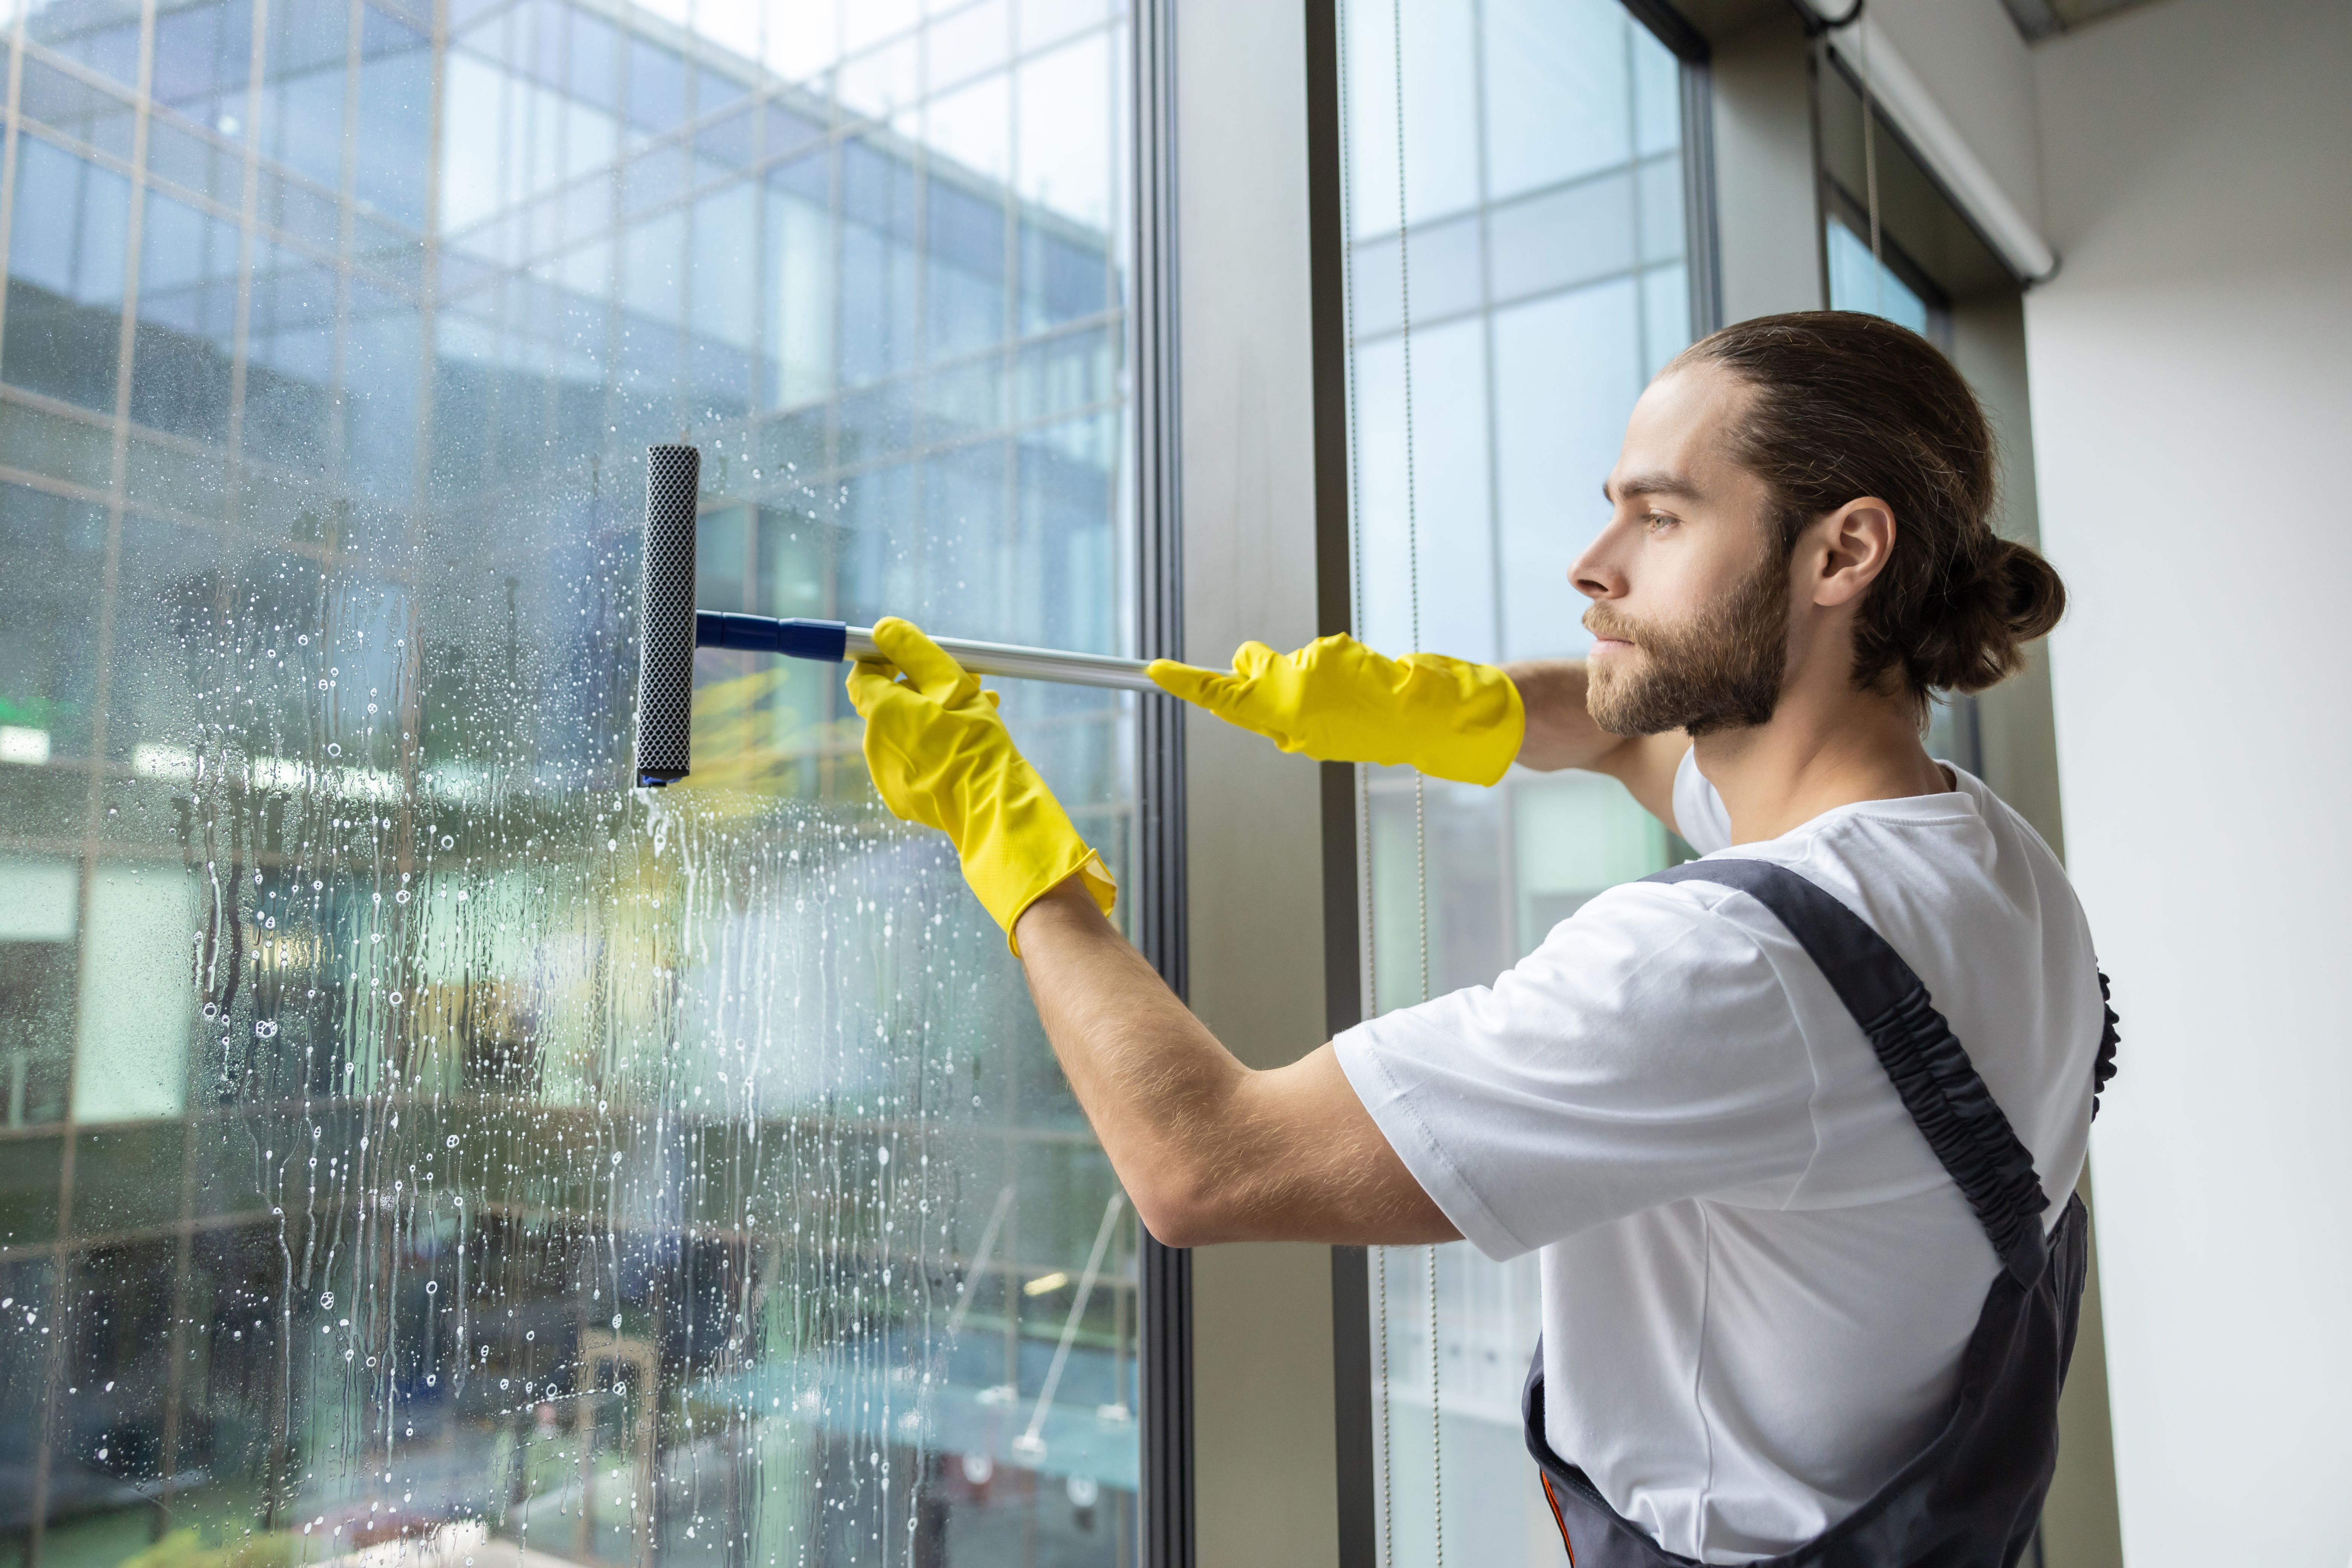
Proper preparation is crucial for a smooth application. Begin by thoroughly cleaning the windows using a glass cleaner to remove dirt and grime. Pay special attention to the edges and corners, as these areas can easily attract dust.
After cleaning, use the squeegee to remove any excess moisture from the window surface. Ensuring the window is completely dry will help the film adhere better and reduce the risk of bubbles.
Applying the Tint Film
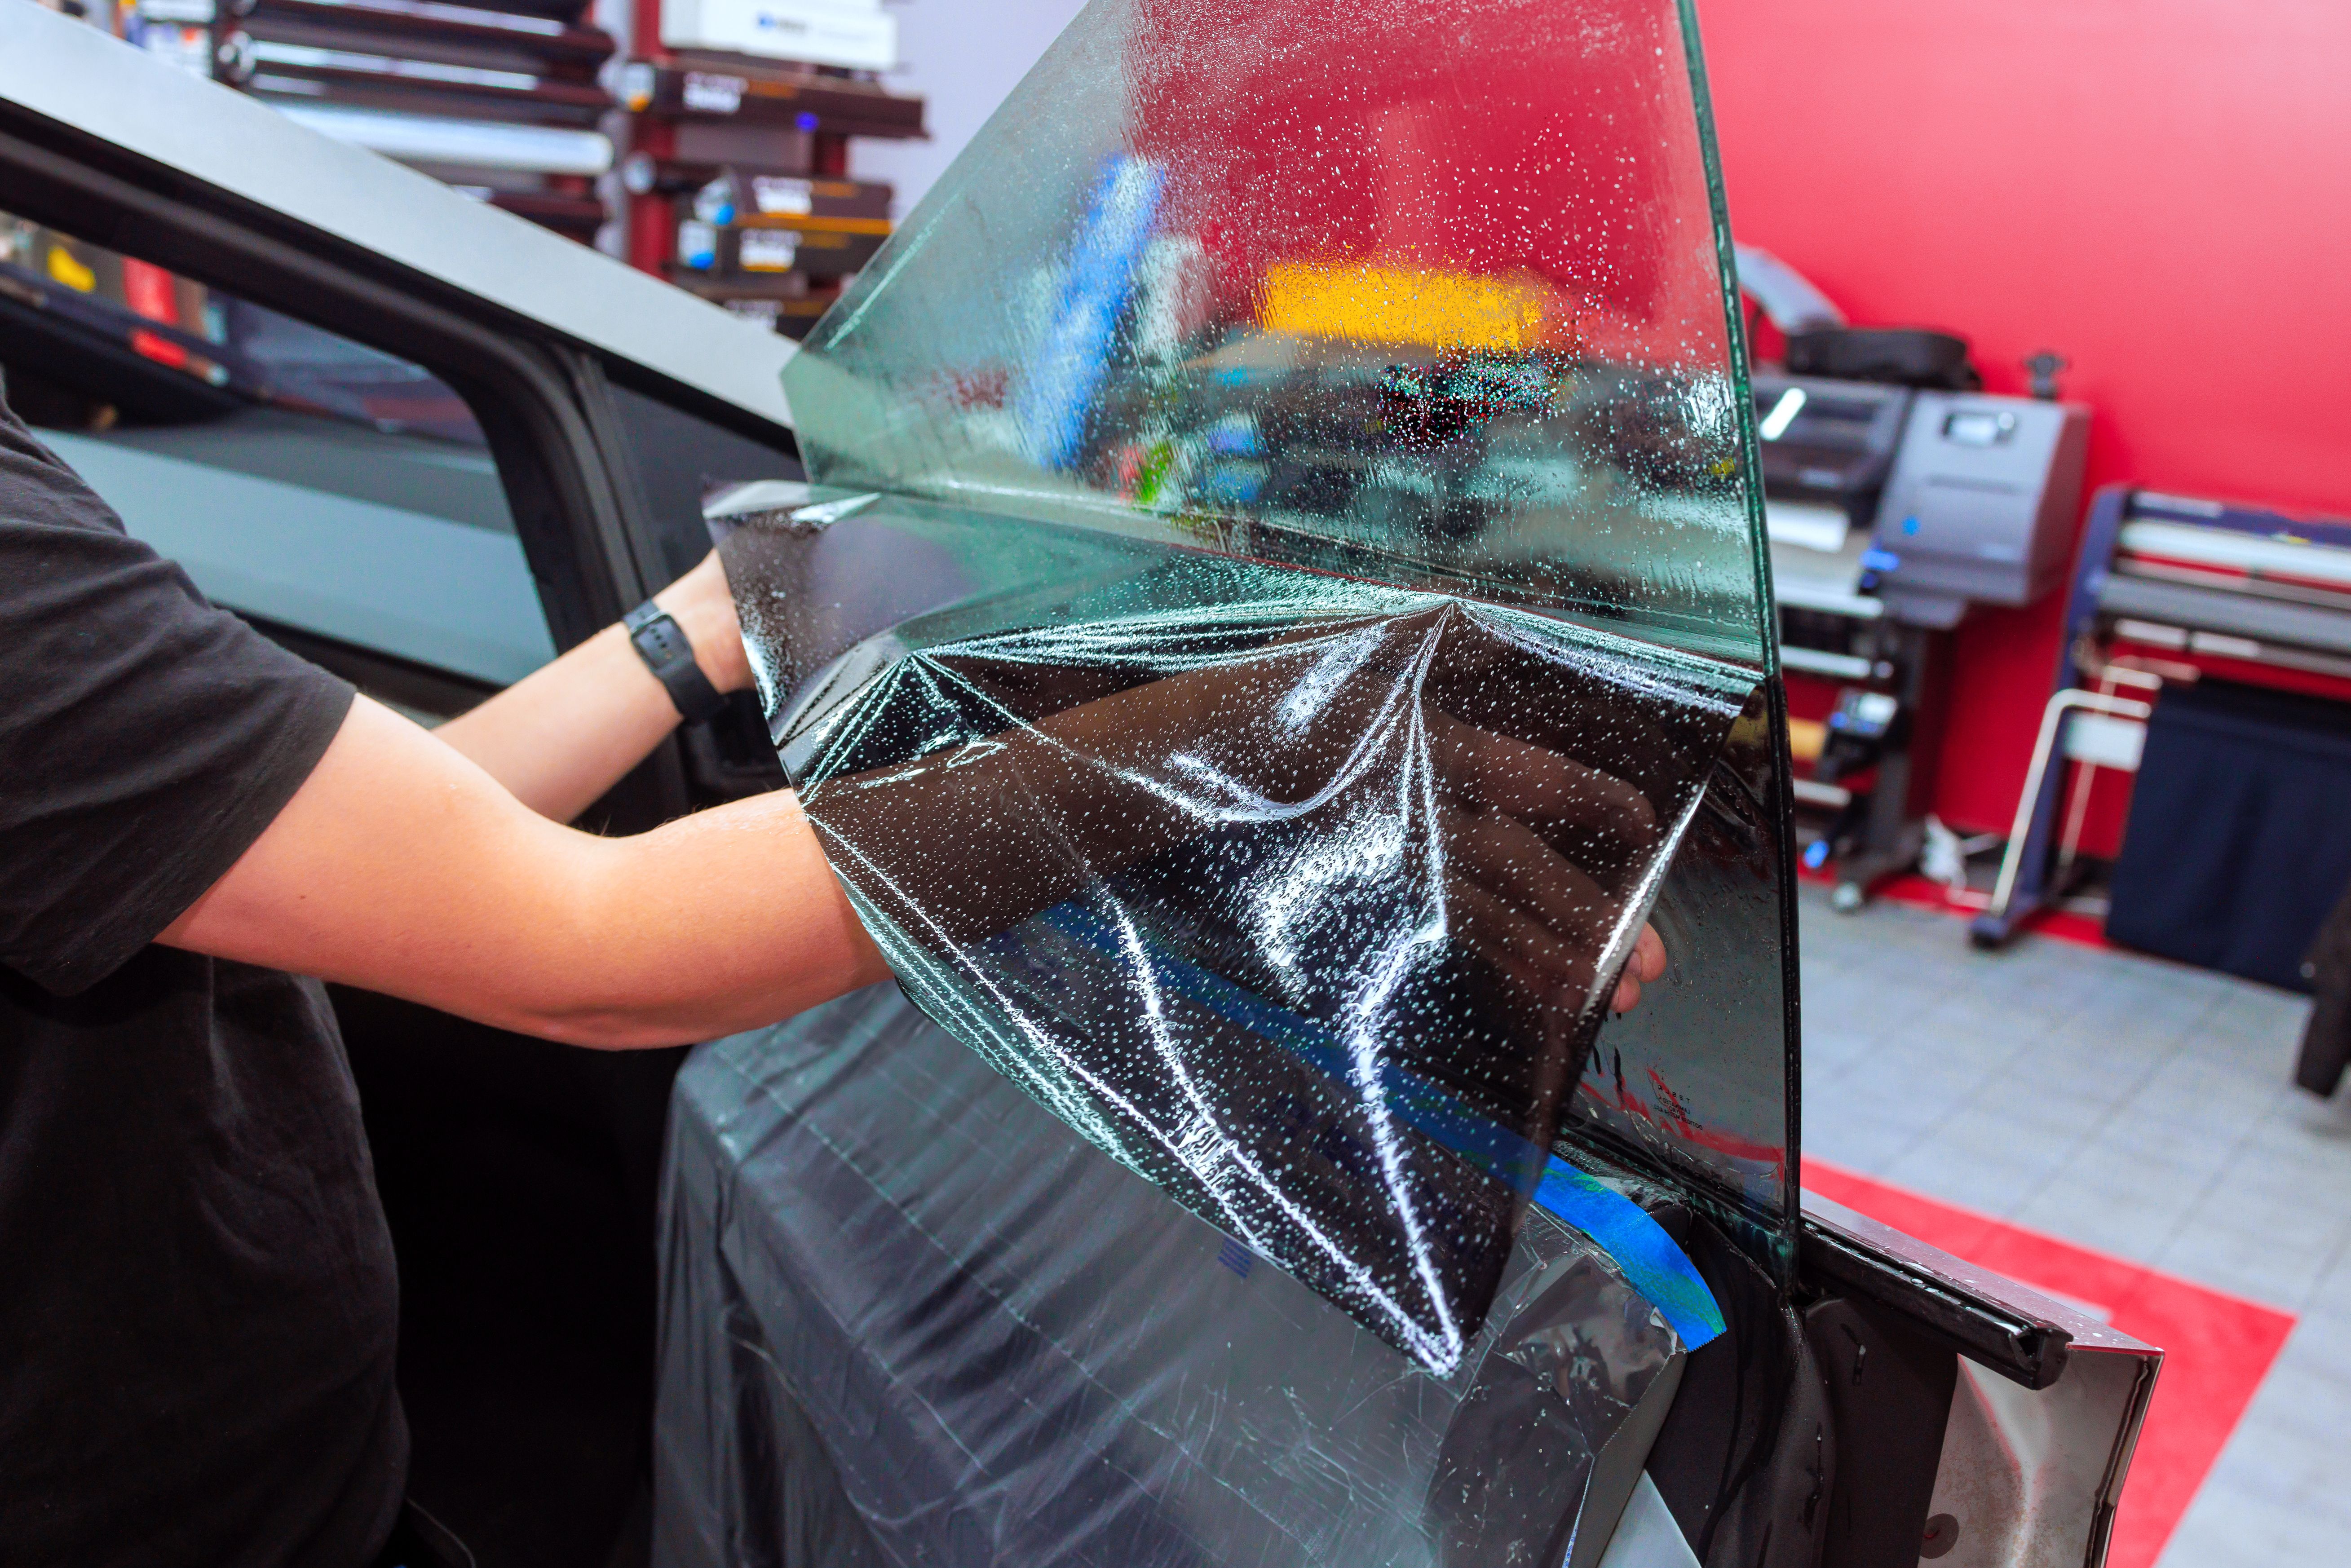
With the surface prepared, you can start applying the tint. Carefully measure and cut the film to fit each window, leaving a small margin for adjustments. Peel the backing off the film and spray the adhesive side with the solution from your kit.
Gently place the film onto the window, starting from the top and working your way down. Use the squeegee to smooth out bubbles and wrinkles, applying even pressure from the center outwards. Patience and precision are key during this step.
Finishing Touches and Maintenance
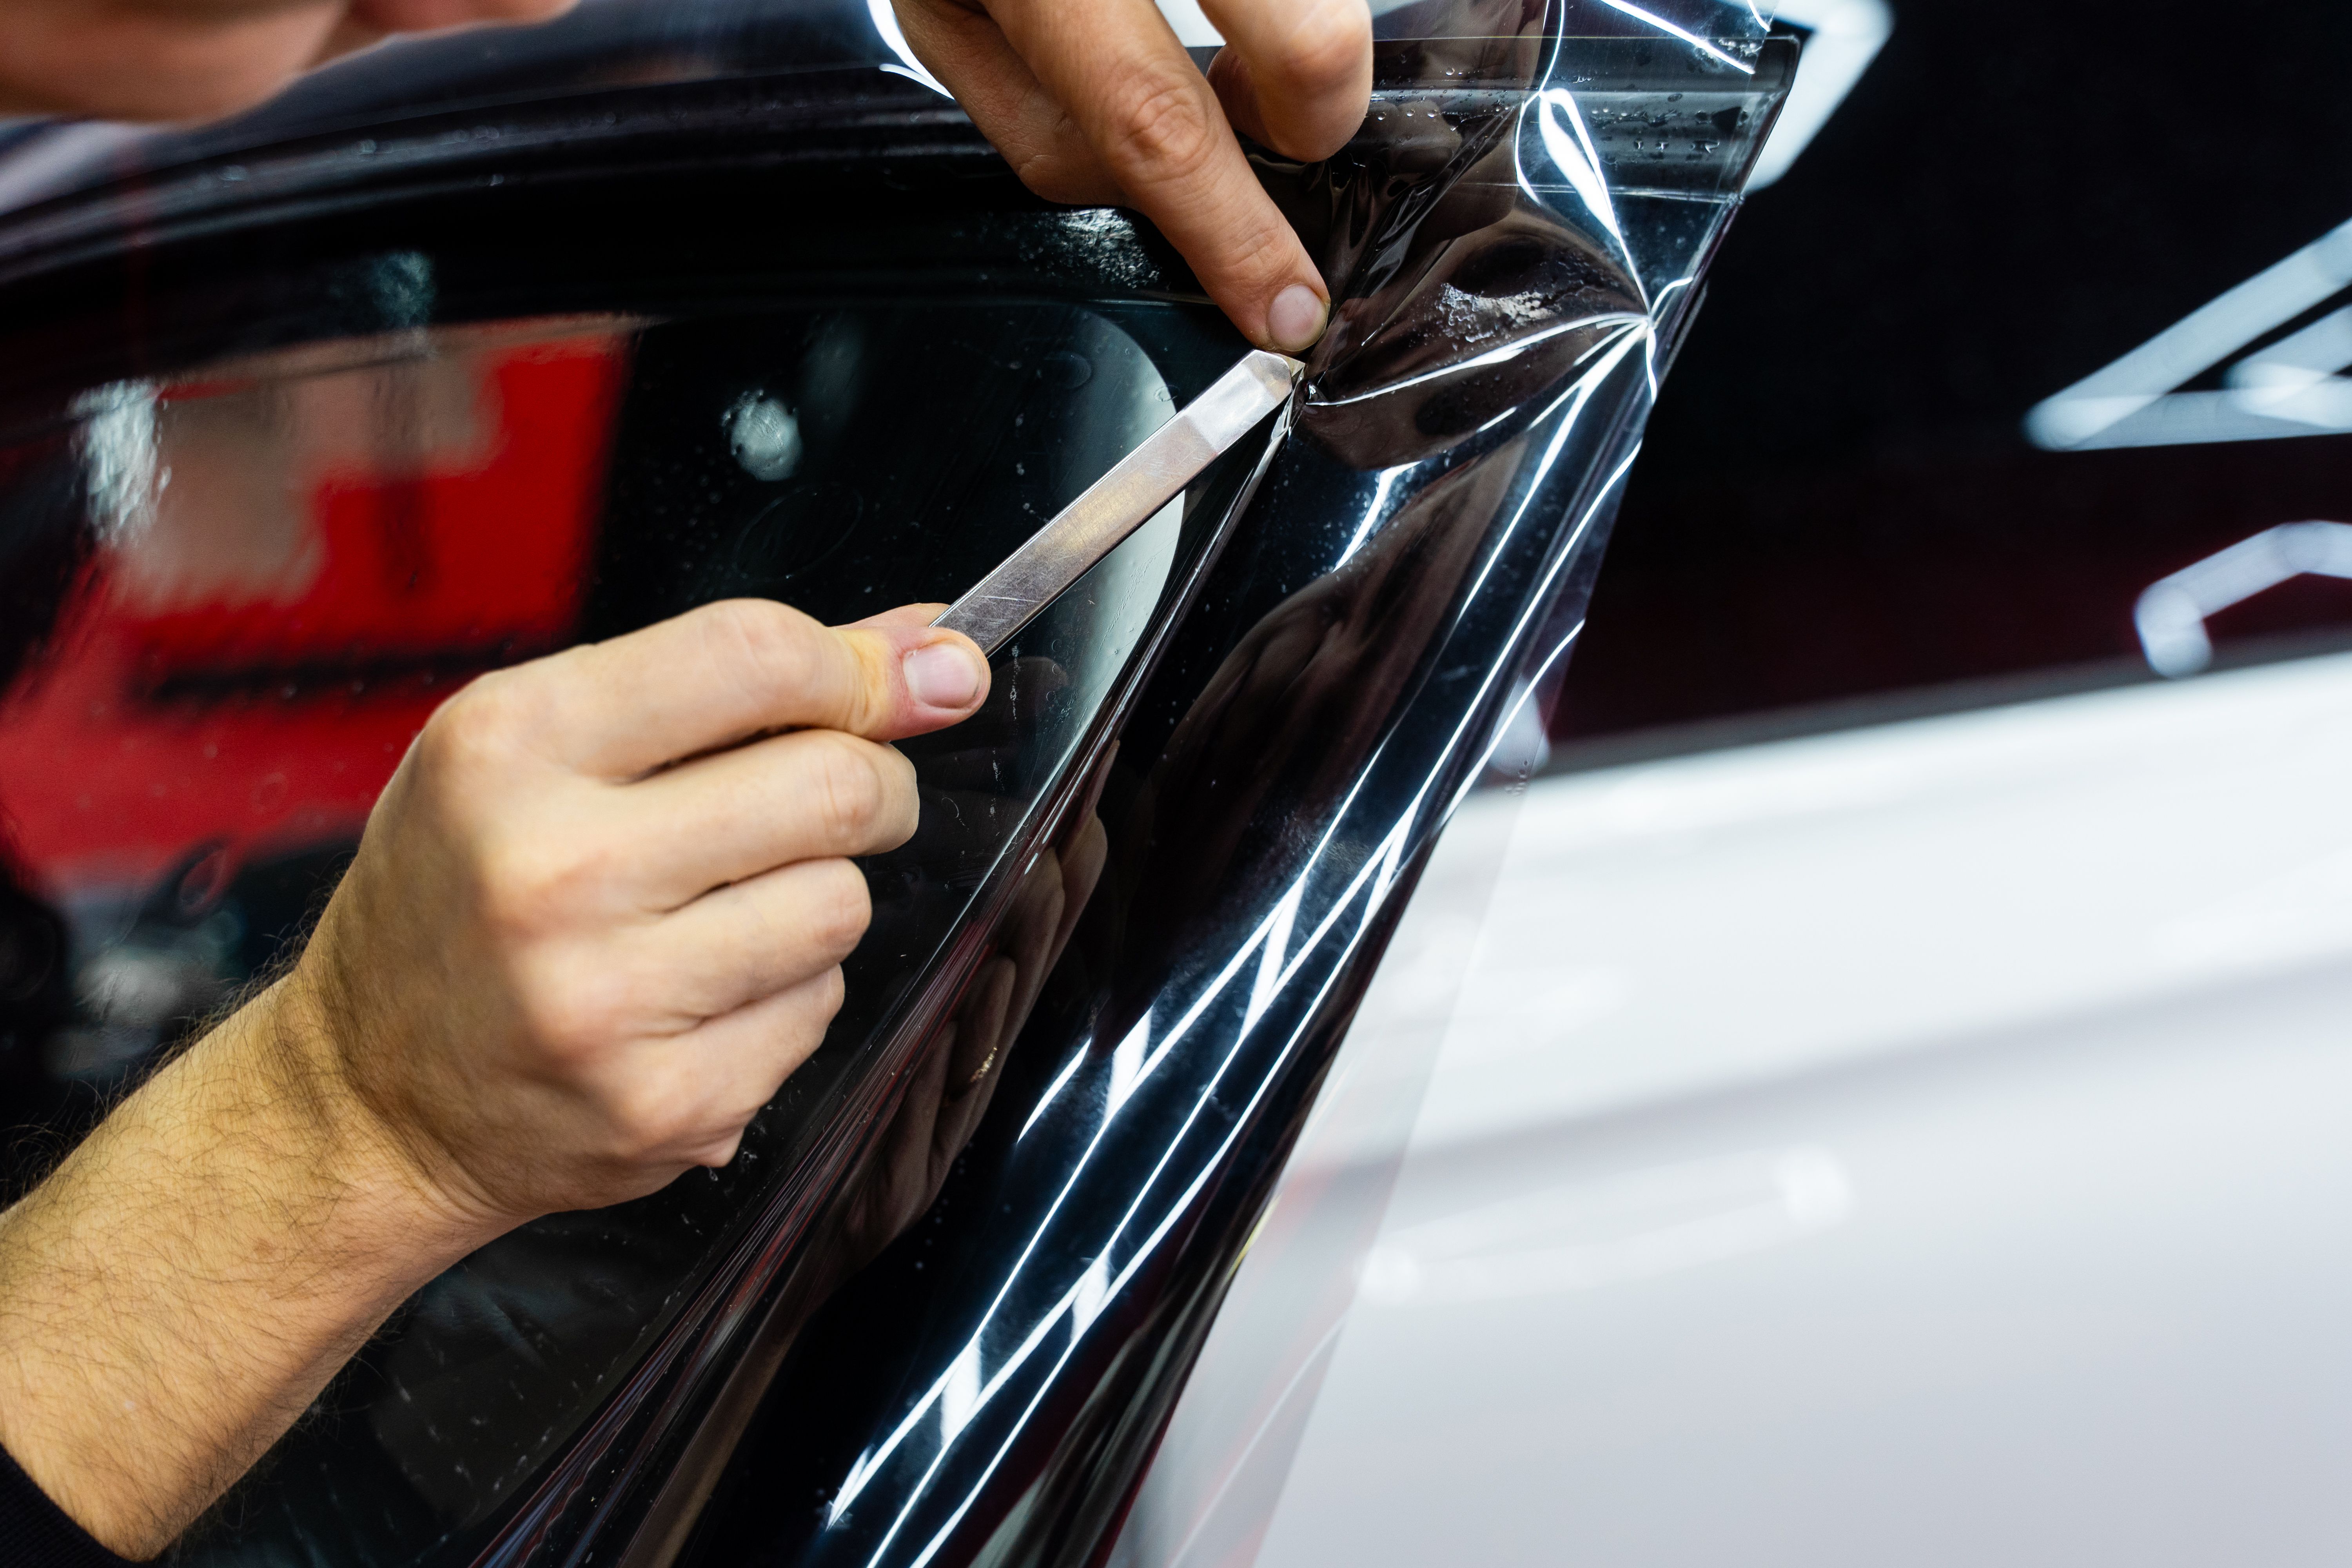
Once the film is applied, trim any excess material with a utility knife to achieve a clean edge. Use the hairdryer or heat gun to set the tint, which will help it adhere better and smooth out any remaining imperfections.
To maintain the tint, avoid cleaning the windows for a few days to allow the adhesive to set fully. When cleaning, use a soft cloth and a non-abrasive cleaner to prevent damage to the film.
By following these steps and taking your time, you can achieve professional-looking results with your DIY window tinting project. Enjoy the benefits of privacy, reduced glare, and improved energy efficiency in your home or vehicle.